The PCV valve is essentially a check valve that ensures the flow of crankcase fumes only occurs from the crankcase to the intake manifold, and not the intake manifold to the crankcase. Over time, the PCV valve tends to become coked with oil and related contaminates, hindering its operation. Symptoms of a faulty PCV valve include poor idle quality (rough idle), engine hesitation, loss of throttle response, excessive fuel in the engine oil, and decreased fuel economy. The location and orientation of the PCV valve may vary by model year and engine. The following procedures are based on the 2002 to 2004 model years, but lay the foundation for PCV valve replacement on any 1997 to 2010 Triton V-8.
Click any thumbnail to view high resolution fullsize image w/ addition details (where applicable)
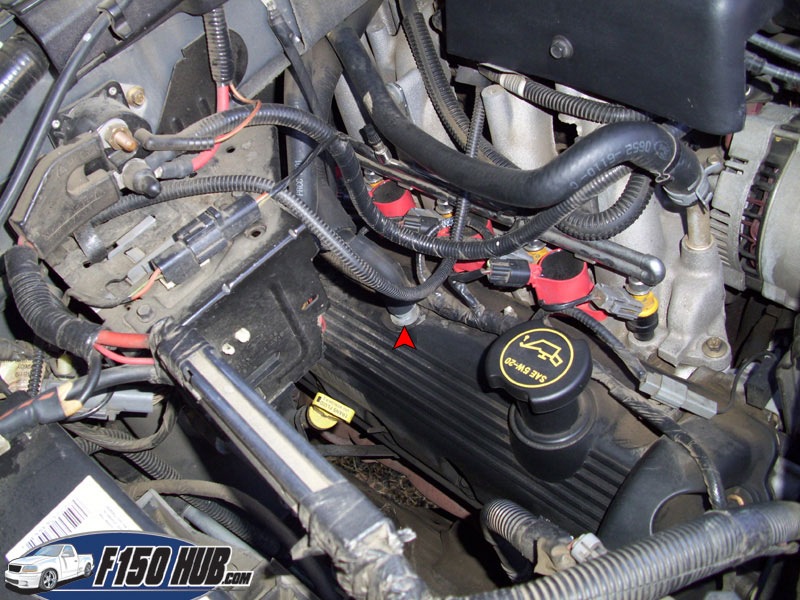
• Locate the PCV valve. This 2 valve 4.6L V-8 has the PCV inserted into the passenger side valve cover. Some 3 valve 5.4L engines will have the PCV located on the driver side valve cover. The location is not universal for all 4.6L/5.4L engines. If you're having difficulty locating it, reference the replacement part and trace all hoses leading into the intake manifold/plenum.

• Remove the hose at the outlet of the PCV valve. This may have a hose clamp, or it may simply be a slip-fit style. Some models may have a heated PCV valve that requires an electrical connector be removed.

• On this style (reference image), the PCV is removed by turning it counter clockwise 90 degrees with a wrench. Some PCV valves will be held in place by 2 small bolts (3 valve 5.4L V-8s, for example). Remove the bolts and pull the PCV valve out. Some engines may also have a PCV valve that simply slips into place.

• Install the new PCV valve. Ensure that the valve is seated properly before continuing.
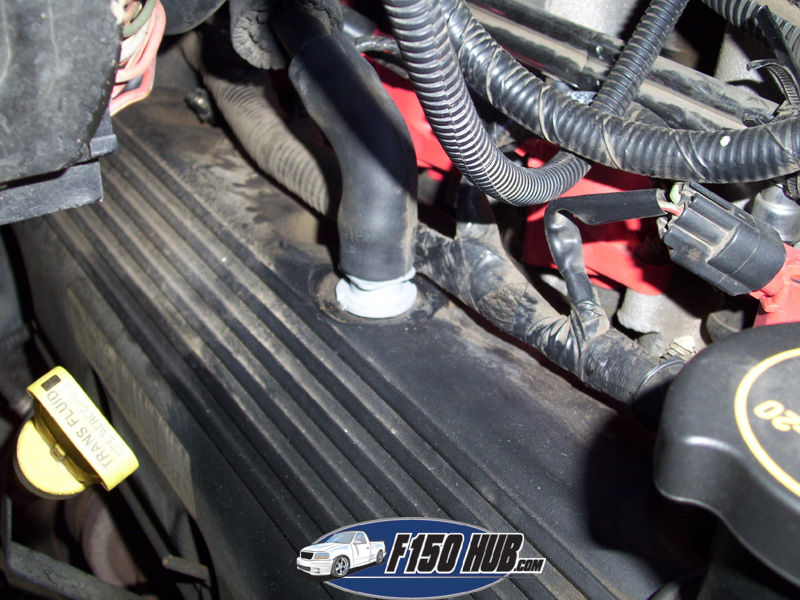
• Reinstall the PCV valve hose and, if applicable, the hose clamp and wiring harness connector.